Elevate your home’s curb appeal and create a stunning facade with the timeless charm of exterior faux stone panels. This in-depth guide will take you through the step-by-step process of installing these beautiful panels, ensuring a professional-looking finish that will make your home the envy of the neighborhood.
Choose the Right Exterior Faux Stone Panels for Your Project
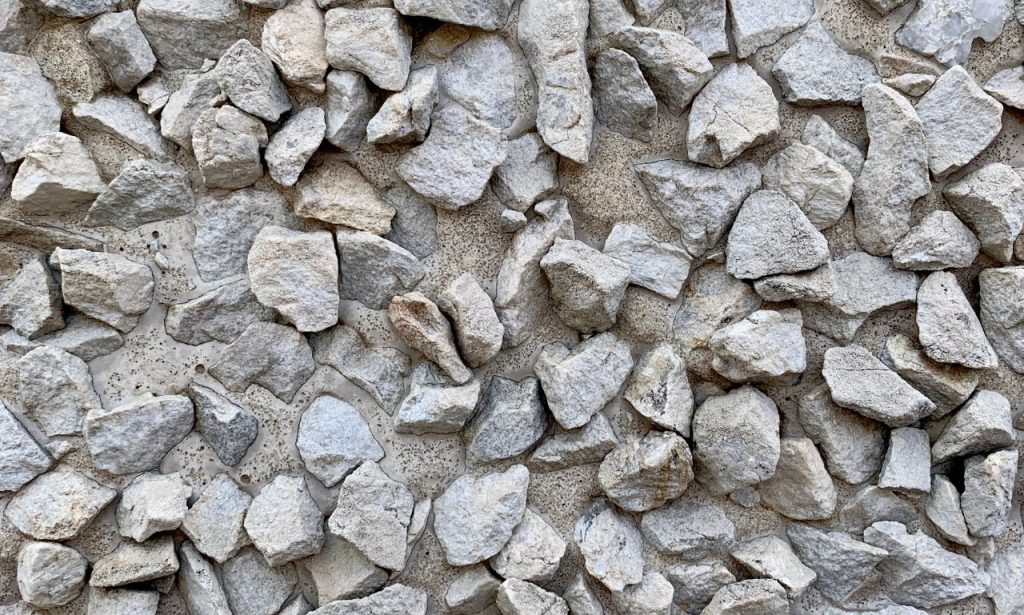
When embarking on your exterior faux stone panel project, it’s crucial to select the perfect panels to complement your home’s style and withstand the elements. Consider the architectural design of your home, the climate in your region, and your personal aesthetic preferences. Opt for high-quality panels crafted from durable materials like polyurethane or fiberglass, which are designed to resist fading, cracking, and moisture damage.
Take the time to browse through various styles, colors, and textures to find the faux stone panels that best suit your vision. From rustic ledgestone to sleek river rock, there’s a wide range of options to choose from. Don’t be afraid to request samples from manufacturers to see how the panels look in person and to ensure they match your home’s color scheme.
Gather the Required Tools and Materials
Before diving into the installation process, gather all the necessary tools and materials to ensure a smooth and efficient workflow. You’ll need a measuring tape to accurately determine the dimensions of your wall and calculate the number of panels required. A level will be essential for marking straight lines and ensuring your panels are installed evenly.
To cut the panels to fit around windows, doors, and other obstacles, you’ll need a circular saw equipped with a masonry blade. A drill will come in handy for creating pilot holes and securing the panels with fasteners, while a hammer will be useful for tapping the panels into place.
Don’t forget the construction adhesive, which will be the primary method for attaching the panels to your exterior wall. Choose a high-quality, exterior-grade adhesive that is compatible with both your faux stone panels and your wall surface. If you plan to use fasteners for added stability, make sure to have exterior-grade screws or nails on hand.
Lastly, prioritize your safety by wearing protective gear, including safety glasses to shield your eyes from dust and debris, and gloves to protect your hands from cuts and abrasions.
Determine the Best Installation Method
When it comes to installing faux stone panels, there are two primary methods to choose from: adhesive and fasteners. The best method for your project will depend on the condition of your exterior wall and the specific requirements of your panels.
Adhesive installation is ideal for smooth, even surfaces that provide a solid foundation for the panels to adhere to. This method involves applying a generous amount of construction adhesive to the back of each panel and pressing it firmly against the wall. Adhesive installation is generally quicker and easier than using fasteners, and it provides a seamless look without visible screws or nails.
Fastener installation, on the other hand, is recommended for uneven or textured walls that may not provide adequate adhesion for the panels. This method involves drilling pilot holes through the panels and into the wall studs, then securing the panels with exterior-grade screws or nails. Fasteners provide added stability and help prevent the panels from sagging or pulling away from the wall over time.
In some cases, a combination of both adhesive and fasteners may be the best approach. This hybrid method involves applying adhesive to the back of the panels and then reinforcing them with fasteners at key points, such as the corners and center of each panel.
Prepare the Surface for Installation
Before beginning the installation process, it’s essential to properly prepare your exterior wall to ensure a strong bond between the panels and the surface. This involves two key steps: cleaning the surface thoroughly and repairing any imperfections.
Clean the Surface Thoroughly
Start by removing any dirt, debris, or loose paint from your exterior wall using a pressure washer or a scrub brush and soapy water. This step is crucial for creating a clean and smooth surface for the panels to adhere to. If you’re working with a painted surface, make sure the paint is in good condition and not peeling or flaking. If necessary, scrape away any loose paint and sand the surface to create a more even texture.
Repair Any Surface Imperfections
Next, take the time to repair any cracks, holes, or uneven areas on your exterior wall. Use an exterior-grade spackling compound or caulk to fill in these imperfections, creating a smooth and level surface. Be sure to allow the repairs to dry completely before moving on to the installation process.
Plan Your Installation Workflow
With your surface prepared and your tools and materials gathered, it’s time to plan your installation workflow. This involves measuring and cutting the panels to fit your wall, orienting the panels for a natural look, and marking level lines to guide your installation.
Measure and Cut Panels as Needed
Begin by measuring the dimensions of your wall and calculating the number of panels needed to cover the entire surface. Keep in mind that you may need to cut some panels to fit around windows, doors, and other obstacles. Use a circular saw with a masonry blade to make these cuts, ensuring a precise and clean edge. Always wear safety glasses and a dust mask when cutting the panels to protect yourself from dust and debris.
Orient the Panels Correctly
To achieve a natural and seamless look, it’s important to alternate the orientation of the panels as you install them. This means rotating the panels so that the seams are staggered and the pattern appears random. This technique helps disguise any visible seams and creates a more authentic stone appearance.
Mark Level Lines on the Wall
Using a level and a pencil, mark horizontal lines on your exterior wall to serve as a guide for installing the panels straight and even. These lines will help you maintain a consistent height as you work your way across the wall, ensuring a professional-looking finish.
Apply Adhesive for Installation
If you’ve chosen to install your faux stone panels using adhesive, it’s important to select the right product and apply it correctly for optimal results.
Choose the Right Adhesive for Exterior Faux Stone Panels
When selecting an adhesive for your faux stone panels, look for a high-quality, exterior-grade construction adhesive that is specifically designed for use with your type of panels and wall surface. Consult the manufacturer’s recommendations and read the instructions carefully to ensure proper application and compatibility.
Apply Adhesive Evenly and Strategically
Using a caulking gun, apply the adhesive to the back of each panel in a zigzag pattern, covering the entire surface without leaving any gaps. Be sure to apply the adhesive evenly, creating a consistent layer that will provide a strong bond between the panel and the wall. If your panels have a textured back surface, use a notched trowel to spread the adhesive and ensure adequate coverage.
Secure Panels with Fasteners (if applicable)
If you’ve opted to install your exterior faux stone panels using fasteners, or if you’re using a combination of adhesive and fasteners, it’s crucial to select the appropriate hardware and secure the panels correctly.
Select Appropriate Fasteners for Your Panels
Choose exterior-grade screws or nails that are long enough to penetrate through the thickness of the panels and into the wall studs. Consult the panel manufacturer’s recommendations for the best type and size of fastener to use with your specific panels.
Reinforce Panels with Screws at Key Points
In addition to applying adhesive, reinforce your faux stone panels by driving screws through the panels and into the wall studs at key points. Focus on the corners and center of each panel to provide extra stability and prevent sagging over time. Be sure to countersink the screws slightly to create a flush surface that won’t interfere with the overall appearance of the panels.
Make Necessary Adjustments During Installation
As you install your exterior faux stone panels, it’s important to make any necessary adjustments to ensure a seamless and professional-looking finish. Use a rubber mallet to gently tap the panels into place, ensuring a tight fit against the wall and adjacent panels. Regularly check for level and make adjustments as needed to maintain straight lines and even spacing.
If you encounter any gaps or uneven areas between panels, use a small amount of adhesive or color-matched caulk to fill them in, creating a smooth and continuous surface.
Allow Adhesive to Cure Properly
Once you’ve installed all of your exterior faux stone panels, it’s crucial to allow the adhesive to cure completely before putting any stress or weight on the panels. Refer to the manufacturer’s instructions for the recommended curing time, which typically ranges from 24 to 48 hours, depending on the specific adhesive used and the environmental conditions.
During the curing process, avoid hanging any decor items or putting pressure on the panels to ensure a strong and lasting bond.
Finishing Touches and Maintenance Tips
With your faux stone panels installed and the adhesive fully cured, it’s time to add the finishing touches and learn how to maintain the beauty of your new exterior facade.
To create a polished and seamless look, apply a bead of color-matched caulk along any visible seams or edges. This will help blend the panels together and create a more cohesive appearance.
To keep your exterior faux stone panels looking their best for years to come, establish a regular cleaning routine. Use a soft-bristled brush and mild soapy water to gently scrub the surface of the panels, removing any dirt, dust, or debris. Avoid using harsh chemicals or abrasive cleaners, which can damage the finish of the panels.
Explore Customizable Designs for Faux Stone Panels
One of the greatest advantages of choosing exterior faux stone panels for your exterior project is the wide range of customizable designs available. From rustic ledgestone to sleek river rock, there’s a style to suit every architectural design and personal taste.
Don’t be afraid to mix and match different colors, textures, and patterns to create a unique and eye-catching look for your home. Consider incorporating accent panels or borders to add visual interest and depth to your facade.
Many manufacturers offer custom color matching services, allowing you to create a one-of-a-kind look that perfectly complements your home’s existing color scheme.
Advantages of Faux Stone Panels Over Traditional Materials

Exterior Faux stone panels offer numerous benefits over traditional stone veneer, making them an attractive choice for homeowners looking to enhance their exterior design.
One of the most significant advantages is the lightweight nature of faux stone panels, which makes them easier to install and puts less stress on your home’s structure. This also translates to lower shipping and handling costs compared to natural stone.
Faux stone panels are also more affordable than traditional stone veneer, allowing you to achieve the look of real stone at a fraction of the cost. This cost-effectiveness makes it possible to complete larger projects or add stone accents to multiple areas of your home.
In addition to their aesthetic appeal, faux stone panels also provide excellent insulation properties. They help keep your home cooler in the summer and warmer in the winter, potentially leading to energy savings and increased comfort year-round.
With their durability, versatility, and easy maintenance, faux stone panels are a smart choice for any homeowner looking to elevate their home’s exterior design.
Ready to transform your home’s exterior with the timeless beauty and unmatched durability of faux stone panels? Visit our website to explore our extensive collection of styles, colors, and textures, and order your panels today. Our knowledgeable team is ready to assist you in selecting the perfect panels for your project and guide you through the installation process.
ALSO READ: How to Coordinate Lighting Fixtures in Your Home
FAQs
Yes, faux stone panels are an excellent choice for creating a stunning fireplace surround. Be sure to select panels that are heat-resistant and follow the manufacturer’s installation guidelines for use near a heat source.
To clean your faux stone panels without causing damage, use a soft-bristled brush and a mixture of mild dish soap and warm water. Gently scrub the surface of the panels to remove dirt and debris, then rinse with clean water. Avoid using harsh chemicals or abrasive cleaners.
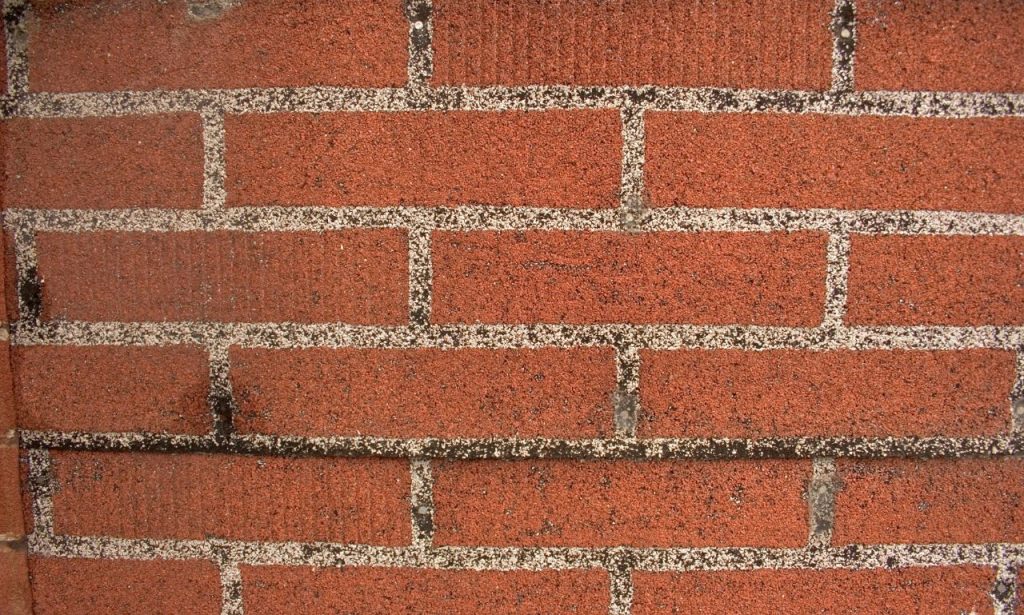
Yes, faux stone panels can be installed over brick or concrete surfaces. However, it’s essential to ensure that the surface is clean, dry, and free of any loose debris or crumbling mortar. In some cases, you may need to apply a masonry sealer or primer before installing the panels to ensure proper adhesion.
When installing faux stone panels in a humid climate, it’s crucial to choose panels that are specifically designed to withstand moisture and resist mold and mildew growth. Ensure proper ventilation behind the panels to allow for air circulation and prevent moisture buildup. Additionally, use a high-quality, moisture-resistant adhesive and caulk to seal any gaps or seams.