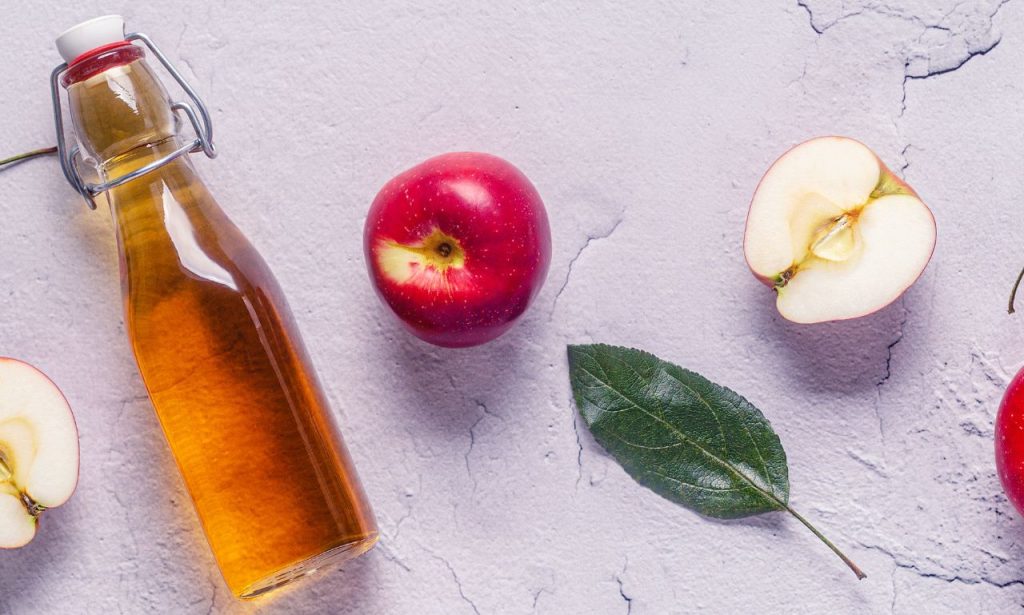
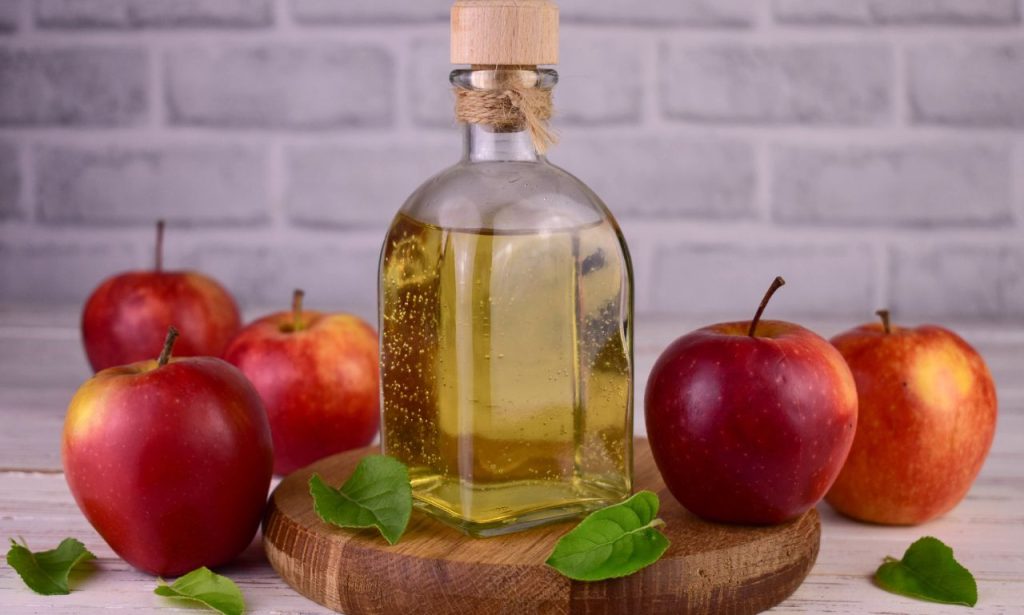
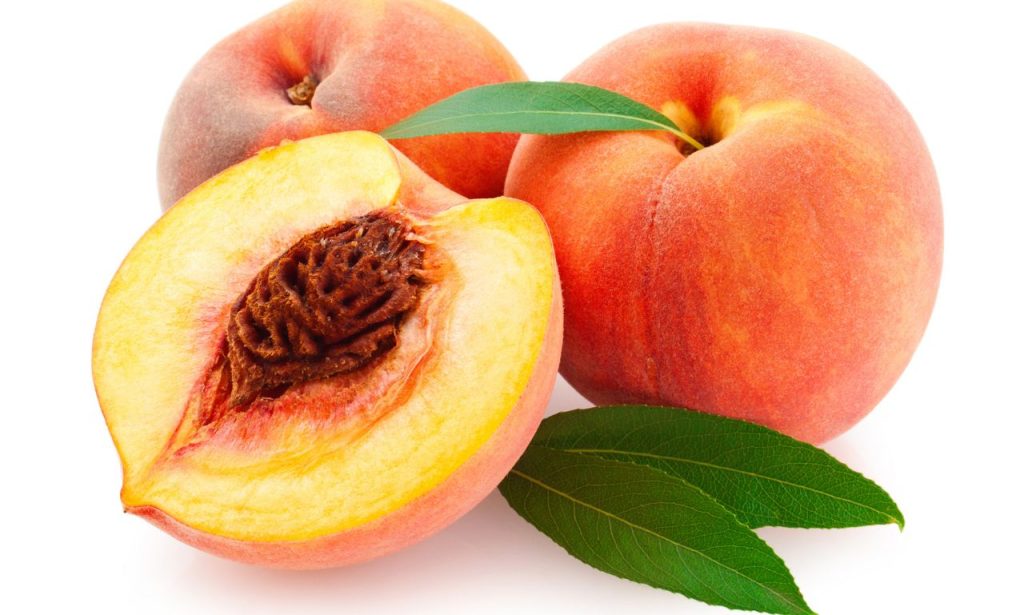
Homemade peach vinegar has an enchanting burst of peach flavor and a touch of tangy magic that adds depth to any dish. Crafting it from scratch is easier than you think, and it takes your kitchen adventures to the next level. Whether you use it in salad dressings, marinades, or even health applications, peach vinegar is a versatile and delightful addition to any pantry.
What is The Difference Between Wine and Vinegar?
Though they may seem like distant cousins, wine and vinegar are two very different products. Wine is the result of sugars transforming into alcohol via fermentation. This process begins when natural sugars are broken down by yeast, which produces alcohol as a byproduct—this stage is known as alcoholic fermentation. Vinegar, on the other hand, involves an additional fermentation phase, during which Acetobacter bacteria convert the alcohol content into acetic acid, giving it the characteristic tangy, acidic flavor we associate with vinegar. This transition to vinegar is both an art and a science, taking your ingredients through multiple phases of fermentation.
Fruit-based vinegars, like peach vinegar, can start either with fresh fruit or with leftover scraps from fruit preserves. If you’re making vinegar from a bottle of wine, this is simply a different starting point for achieving the acetic acid we’re aiming for. Whatever the starting point, vinegar ultimately reaches its acetic acid status via a combination of time, patience, and the right environmental conditions. In this guide, we’ll focus on making peach vinegar from fresh fruit.
Benefits of Home-Fermented Fruit Vinegar

Creating homemade vinegar has numerous benefits. Not only does it contain fewer artificial ingredients and preservatives compared to store-bought varieties, but it also allows you to repurpose overripe or excess fruit. Imagine turning those leftover or excess peaches into a peach-perfect balsamic vinegar—it’s the ultimate way to practice sustainability in your kitchen. Homemade fruit vinegar can also have a more complex, fragrant flavor compared to commercial options, giving your recipes an extra edge.
You’ll also find satisfaction in creating something natural from scratch. Fruit vinegars are rich in nutrients, as they maintain the essence and beneficial compounds of the fruit itself. Whether you’re making apple scrap vinegar, pineapple vinegar, or peach vinegar, each homemade batch is full of antioxidants and health-promoting qualities.
Gather the Essential Ingredients
Fresh Peaches
The key to great peach vinegar is fresh, ripe peaches—even slightly over-ripe fruit works well. Whether you have an excess of peaches growing in your garden or have found a great deal at the farmer’s market, make sure to choose peaches that are full of natural sugars. The natural sugar content is what fuels the fermentation process and ensures a vibrant, fruity, and aromatic vinegar product.
Overripe peaches are especially ideal for this recipe, as their high sugar levels make them perfect for fermentation. Peaches that are too firm may lack the sweetness required for a proper fermentation process, so ensure your peaches are juicy and ripe.
Sugar
Sugar is an essential component for kickstarting fermentation. Organic cane sugar is a great option, but white sugar works perfectly fine as well. The sugar you add will transform into alcohol during the primary fermentation phase, and eventually into acetic acid, giving the vinegar its signature tang. Use about 1-1/2 cups of sugar per gallon of peach mash to provide the natural sugars necessary for healthy fermentation.
Using fermentable sugars like organic cane sugar ensures the yeast has enough to work with during alcoholic fermentation. Without sugar, the yeast cannot convert the peach mash into alcohol, and thus, vinegar cannot form. This initial stage is vital in building the foundation for the vinegar’s depth of flavor.
Water
Clean, filtered water is essential as it provides the base for extracting the juice from the peaches. Tap water is sometimes treated with chlorine, which could interfere with fermentation, so it’s best to use filtered water. For this recipe, use around 4-5 cups of water per batch. Make sure the water is at room temperature before adding it to your fermentation mix.
Starter Culture (Optional)
A starter culture, like a splash of raw apple cider vinegar or a vinegar mother, can help initiate the fermentation process. This step is optional, as natural airborne bacteria can kick off the fermentation on their own, but adding a culture can reduce fermentation time and increase the chances of successful fermentation. If you’re using a starter, a few tablespoons of raw vinegar will suffice.
If you are familiar with kombucha or have a kombucha SCOBY, this can also be used as a starter culture. Adding a starter helps ensure beneficial bacteria—such as Acetobacter—are present in the mix right from the beginning.
Prepare the Peaches for Fermentation
Washing and Prepping Peaches
Start by thoroughly washing the peaches. Fruit flies and dirt are not invited to this fermentation party! Remove any visible dirt or pesticides from the surface by gently scrubbing under running water. After washing, pit the peaches and chop them into small pieces. There’s no need to peel them, as the skin contains extra flavor and beneficial yeasts that aid the fermentation process.
If your peaches are very soft, you can mash them with your hands to make it easier for the juice to come out during fermentation. Mashing also helps increase the surface area available for fermentation, providing more opportunity for flavor to develop.
Methods for Extracting Juice
There are a couple of methods to extract the juice from peaches:
- Cold Juice Extraction: Place the chopped peaches in a large bowl and mash them with a potato masher. Allow them to rest for about 30 minutes to release their natural juices—this juice will become the foundation for the vinegar.
- Blender Extraction: For a quicker, hands-off approach, place the peaches in a blender and pulse until the mixture resembles a thick puree. Blending helps break down the fruit and releases more of the sugars, which ultimately boosts the fermentation process.
Extracting as much juice as possible will result in richer and more flavorful vinegar. If you have a lot of peaches, feel free to use both methods to create a mix of juice and pulp for added depth of flavor.
Creating the Fermentation Mix
Combining Ingredients
Once you have your peach mash, place it in a clean glass container. Glass is the ideal vessel for fermentation, as it does not react with the acidic vinegar. You can use a gallon water jug, a large glass jar, or even a food-grade container. Pour in enough water to cover the peaches completely, leaving at least 2-3 inches of headspace to allow for bubbling during fermentation. Mix in your sugar until it is fully dissolved.
If you’re using a starter culture, add it to the mixture at this point. Stir well with a clean, non-metallic spoon.
Ensuring the Right Sugar Concentration
The sugar concentration is important because it fuels the fermentation process. Without sufficient sugar, the yeast will not have enough to consume, which can result in a lackluster vinegar. Use approximately one cup of sugar for every 5-6 cups of water and peach mixture. It’s always better to add a bit more sugar than to end up with a flat fermentation process.
Once mixed, cover the jar with a breathable cloth or paper towels, securing it with a rubber band. This allows gases to escape while keeping unwanted pests and contaminants out.
Fermentation Phases Explained
Primary Fermentation
The primary fermentation phase begins as yeast and bacteria start consuming the sugars, producing alcohol. This stage is also known as alcoholic fermentation, and you may notice bubbling or fizzing—this is a sign that everything is working as it should. The natural sugars are transforming into alcohol, creating the foundation for the final vinegar.
The primary fermentation generally takes 1-2 weeks. During this time, you should see small bubbles forming and rising to the surface. The peach mash will also smell sweet and fruity as the sugars are converted. Make sure to stir the mixture every few days to keep the peaches submerged and prevent mold formation.
Secondary Fermentation
Once the bubbling subsides, the mixture moves into secondary fermentation, where Acetobacter bacteria convert the alcohol into acetic acid. This is where the vinegar magic happens—the alcohol is now transitioning into a tangy, acidic flavor profile.
Secondary fermentation typically takes 3-6 weeks, depending on environmental factors like temperature. During this phase, you may notice a “vinegar mother” forming at the surface. This gelatinous layer is a natural byproduct of acetic acid bacteria and indicates a healthy fermentation.
It’s important to be patient during this stage, as vinegar formation can take time. The longer you allow the mixture to ferment, the more depth and complexity the vinegar will have. A full six-week fermentation results in a strong vinegar with a rich, aromatic profile.
Monitoring and Adjusting the Fermentation Process
Signs of Healthy Fermentation
During the fermentation process, several signs indicate healthy activity:
- Bubbling: During primary fermentation, bubbling is a sign that the yeast is active and the sugars are being consumed.
- Sweet to Tangy Aroma: The smell should change from sweet and fruity to tangy and sharp as fermentation progresses.
- Vinegar Mother Formation: The formation of a vinegar mother—a jelly-like film—is a sign of a thriving batch.
Healthy fermentation relies on the right balance of sugar, temperature, and air exposure. Keep your container in a warm place, ideally between 65-85°F, for the best results.
Troubleshooting Common Issues
- No Bubbles: If there is no bubbling during the first few days, the yeast may not have enough sugar to consume, or the temperature may be too low. Make sure there’s enough sugar in the mix and move the container to a warmer spot.
- Mold: Mold can form if the peaches are exposed to air. Ensure all fruit is submerged in liquid, and stir the mix every couple of days to keep everything below the surface.
- Bad Smell: If your vinegar smells rotten or sulfurous, it may be contaminated. This is a sign that unwanted bacteria have taken over. Always use clean equipment and consider adding a starter culture to help prevent this.
Stabilizing the Vinegar

Once the vinegar has reached your desired acidity level, it’s time to stabilize it. Strain out the peach pulp using a coffee filter, cheesecloth, or even paper towels. This step helps to clarify the vinegar and remove any solid particles or sediment, resulting in a clean and clear finished vinegar product.
Transfer the strained vinegar to clean bottles or jars. Glass containers are best for storing acidic substances, as plastic can react with the acetic acid over time. Seal the containers with non-metallic lids to prevent corrosion. If using metal lids, line them with wax paper to create a barrier.
Best Practices for Storing Peach Vinegar
Container Choices
For long-term storage, choose glass containers such as decorative bottles or mason jars. Glass not only preserves the integrity of the vinegar but also prevents any unwanted reactions that could occur with plastic or metal. If you’re gifting the vinegar, small decorative bottles with cork stoppers make for beautiful and practical options.
Ideal Temperature and Environment
Store your peach vinegar in a cool, dark place. Sunlight can alter the chemical designation of the vinegar and affect its flavor over time. The pantry, a cupboard, or even a cellar are all excellent places for storing vinegar. The temperature should ideally be between 60-75°F.
Creative Uses for Peach Vinegar
Culinary Recipes
Peach vinegar is incredibly versatile and adds a unique burst of peach flavor to your cooking:
- Salad Dressings: Peach vinegar makes a delightful dressing for greens. Mix it with olive oil, a bit of honey, Dijon mustard, and salt for a simple yet aromatic homemade salad dressing.
- Marinades: Use peach vinegar as a base for marinades to tenderize meats like chicken or pork. Its acidic nature helps break down protein fibers while imparting a fruity tang.
- Roasted Vegetables: Add a splash of peach vinegar to roasted vegetables like carrots, bell peppers, or squash. It brings out the natural sweetness of the veggies and adds an extra depth of flavor.
- Sauces: Add a dash of peach vinegar to BBQ sauce or chutney for an extra burst of flavor. Its subtle fruity notes bring a fantastic flavor that complements savory dishes.
Health and Wellness Applications
- Hair Rinse: Peach vinegar can be used as a natural hair rinse. Mix a tablespoon of peach vinegar with a cup of water to help remove buildup from hair products and balance the scalp’s pH.
- Digestion Aid: Similar to apple cider vinegar, peach vinegar can help support digestion. A teaspoon diluted in a glass of water before a meal can aid in digestion and stimulate stomach acid production.
- Skin Toner: Dilute peach vinegar with water and use it as a skin toner. The acetic acid helps to balance the skin’s pH and has astringent properties.
Tips for a Sustainable, No-Waste Kitchen
Utilizing Peach Scraps

Don’t let those peach scraps go to waste! The peach pits, skins, and even leftover pulp can be repurposed in creative ways:
- Fruit Scrap Vinegar: Peach pits and skins can be used to make another batch of fruit scrap vinegar. Simply add the scraps to a jar, cover with water, and allow them to ferment similarly to the main batch.
- Infused Vinegar: Use the pits to infuse a finished batch of peach vinegar, adding extra flavor and complexity.
Composting and Recycling Ideas
Once you’ve strained out the pulp, add it to your compost bin. Fruit scraps are rich in nutrients, and composting them is an excellent way to nourish your garden. Peach pulp can also be dried and used as a natural exfoliant in homemade scrubs.
Recycling your bottles is another way to practice sustainability. Decorative bottles can be reused to store future batches of homemade vinegar or other homemade products like infused oils.
Now that you know how to make peach vinegar from scratch, why not give it a try? Get creative, experiment, and bring a peachy twist to your homemade dressings, marinades, and wellness routines. Your kitchen will thank you for this flavorful addition!
ALSO READ: Professional Barbecue Outdoor Grill Suppliers
FAQs
The entire process, from primary to secondary fermentation, usually takes 4-8 weeks, depending on factors such as temperature and sugar concentration.
Absolutely! You can substitute peaches with other fruits like apples, blueberries, or even pineapple to make homemade fruit vinegar. Each fruit brings its own unique flavor.
Your vinegar is ready when it smells tangy, tastes acidic, and the bubbling has slowed down. The flavor should be sharp and slightly fruity. You can also test its acidity level with pH strips—a pH of around 2-3 is ideal.
If your vinegar is too strong, you can dilute it with filtered water to adjust the acidity to your liking. Start with a tablespoon of water at a time until the taste is balanced.


